This week I shared my linen Archer shirt with you. I’m always curious about how others sew things – not the finished results, but the techniques they use to get there. So this is a catalogue of the techniques I use when shirt-making, as featured in my Archer shirt and others. If you hate detail, turn away now!
This isn’t a tutorial or sewalong – those have been done and there’s no point reinventing the wheel. Most of my tips are links to the pros who do it better! If you want more detailed information, try Grainline Studio’s official sewalong, or the sewalong hosted by the inimitable Sew Maris (with the help of David Page Coffin, of Shirtmaking fame).
Seam allowances
You’ll find that a lot of these steps take place before the actual cutting and sewing. Preparation is the key to a well-sewn shirt, and I spend a lot of time inspecting my favourite RTW shirts to decide which design features and techniques I would like to use before getting anywhere near the sewing machine.
One of these is seam allowances – this is pretty standard, but I stick to the seam allowances which will give me the best results in the appropriate area of the shirt:
- 6mm (1/4″) for enclosed seams such as collar, stand, neck, pocket turn-under. I can’t imagine trying to sew a collar on with a 1.5cm seam allowance!
- 1cm for near everything else, including yoke seams, armscye (I can’t give you an imperial equivalent for this – 3/8″ is the closest at 9mm)
- 1.5cm (5/8″) for side seams, to allow more room for fitting
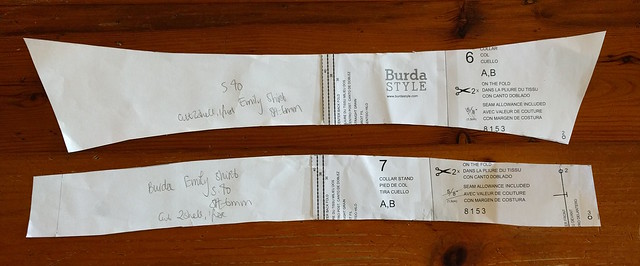
Fusing
Oh, where has blockfusing been all my life? Instead of fussing about cutting little pieces of interfacing for the collar and stand, and fusing them to equally shifty little fabric pieces, I could have been fusing the whole section of fabric needed, then cutting pieces from the already-fused fabric.
It’s so much easier than trying to fuse the individual pieces, and far more accurate. Just make sure to double your pattern pieces so you can cut on one layer, for top accuracy points.
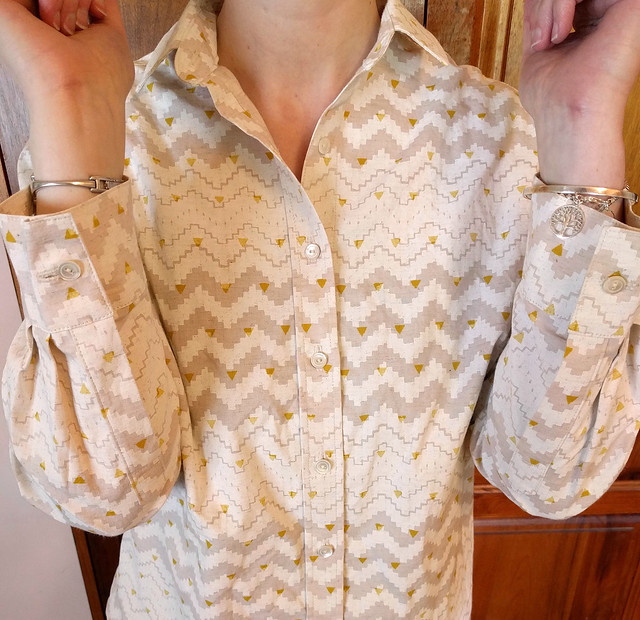
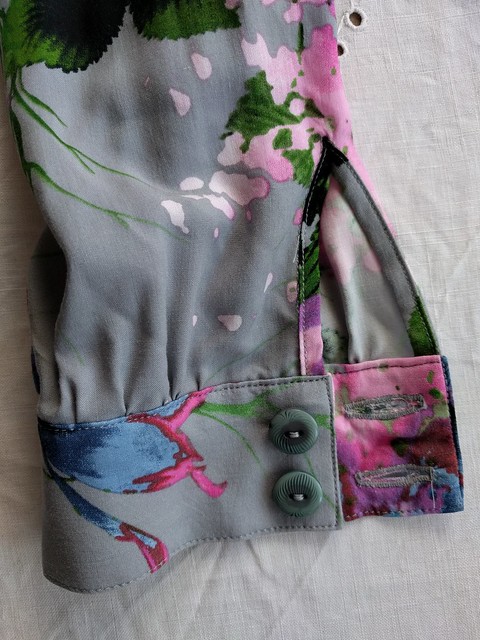
The buttonband

I’m not sure what this is actually called, so I’m referring to it as an industry faux separate placket. I first discovered it on Kathleen Fasanella’s Fashion Incubator blog (if you’ve never visited it, stop everything and go straight to the tutorial section!) and soon realised near all of my RTW shirts employed this finish.
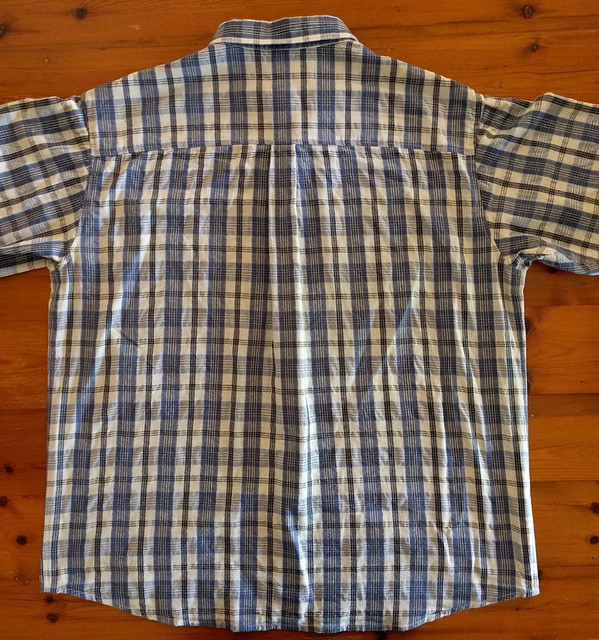
I used it with success on my Burda short sleeve shirt (pictured above), and repeated the process on my Archer. I don’t change the pattern pieces – just measure out 1/2 buttonband width + buttonband width + 1/2″ (for pleat) from the centre front (the pleat shifts the centre front 1/2″ along, if you are considering pattern matching). On the left side is an average turn-under buttonband, made 3cm wide to match the chosen width of my right band.
These buttonbands are so easy to make and professional in appearance, I’d be lying if I said I didn’t plan to use this technique on every single shirt I make from now on.
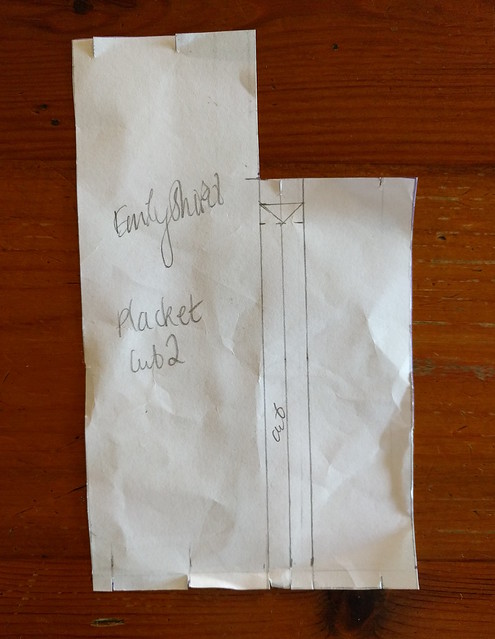
The sleeve placket
If Kathleen Fasanella is the high priestess of industry sewing, Pam Erny from Off the Cuff reigns supreme over custom shirt-making. I’d love to one day buy her interfacings, if it didn’t cost, like $30 to ship here (I actually think she’s closed her international shop now).
Her ‘Professional “Custom Shirtmaking” Method’ for sewing sleeve plackets gives me flawless results, every time. The two-piece placket is essentially a regular one-piece placket, cut in two all the way down the cut line – so you can adapt any pattern you like to this method. (My placket is a combination of the Sewaholic Granville’s and the diagrams from Shirtmaking).
Another sleeve placket
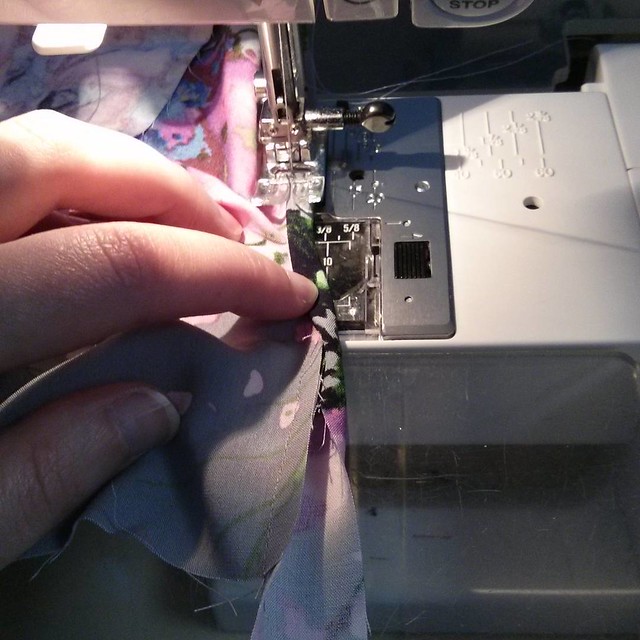
I didn’t use the bound sleeve placket employed by the Archer pattern, but do love it as a finish on soft and silky fabrics. When I’m sewing a continuous bound placket, such as in this rayon shirtdress (unblogged), I follow Sheryll’s tutorial.
Like my favourite techniques (including the tower placket above), it’s all done at the machine – trust me when I say it’s more accurate without pressing during the process!
The collar point
More goodness from Off the Cuff. I’ve tried a LOT of different methods to get a perfect collar point (at one point my sewing room was littered with collar samples!), and this technique gives consistently good results. All you need is a scrap of thread!
The yoke
Burrito. All. The. Way. I’m surprised the Archer instructions didn’t include this technique – who wants to attach a yoke any other way? And don’t even get me started on instructions that require handstitching!
So there’s a few of my favourite techniques! (I can almost hear Julie Andrews singing in the background.) How do you like to sew shirts? Is there a special technique I missed?

I didn’t try that collar turning technique but I had good results with folding the seam allowances without clipping, I’m pretty sure I firat read it in a David Page Coffin article.
What about flat felled seams? I’ve done them on sleeve seams but not on armholes yet.
LikeLike
I’ve tried that technique, from Fashion Incubator. I find the effectiveness depends on the angle of the collar point – if it is 90 degrees, the seam allowances fill the space perfectly and create a lovely point. But the sharper the angle, the more the allowances try to poke out and disrupt the seams leading up to the corner.
Flat felled seams aren’t something I’ve ever bothered with – you can’t really tell from the outside the difference between a flat felled seam and a topstitched, overlocked seam, and fancy details that you can only see from the inside aren’t my thing! I know they’re a traditional shirt thing, but I’d rather a seam I can take out and alter if necessary.
LikeLiked by 1 person
Makes sense, I can see how that could be problematic with a sharper angle.
LikeLike
I have yet to sew a top that fits well enough for me to actually wear…probably because I hate pinning, I don’t baste, and I never make a muslin. This is sacrilege, I know!
LikeLike
Hehe, nothing wrong with no pinning or basting! And I don’t always make a muslin either.
LikeLike
All good techniques! I’m in love with the burrito ever since I did it on a Craftsy course with an Islander Sewing Systems pattern. I don’t know why everyone doesn’t do this. I certainty adapt patterns to do it this way!
LikeLike
Oh man, I love Janet Prey’s Craftsy classes. They transformed my sewing!
LikeLiked by 1 person
I have done two. I thought they were fabulous! 😃
LikeLiked by 1 person
Great tips – thanks Shirt Kween. I am book marking this for future reference. I am in the process of making a few tops – one of which has the continuos bound placket opening (drapey fabric) and I haven’t done one of these for a while so the tutorial will be helpful. Am also totally buying the Named Quinn. Watch this space. Have 4 garments currently on the go, 1 semi-finished. Must do some blogging about it all!
LikeLike
Hooray for the Quinn! The continuous bound plackets are surprisingly easy with this method, I thought they’d be really difficult. Though it never hurts to make a few samples!
If you want to totally fall down the rabbit hole of shirt making, check out the entire reverse engineering shirt making tutorial series on Fashion Incubator. It’s fascinating!
Can’t wait to see your garments blogged.
LikeLiked by 1 person
I’ve done them before and didn’t find them too onerous but it’s always good to get more tips I find (#lifelonglearner). And the reverse engineering of the shirt sounds fun. Hope to get some garments blogged this week! Watch this space.
LikeLike
Just revisiting this exceptional post before diving into making some shirts for Alex! Just traced off the Ottobre pattern last night.
That collar point tutorial – where has it been all my life??!!
The front placket thing sort of messes with my head, I must confess.
And I did my first block fusing for Mum’s hat in the weekend, and 100% agree. I was initially worried about waste, but of course I just removed all the interfacing from the fabric I didn’t use and recycled it.
LikeLiked by 1 person
The placket is one of those things you really need to do to understand it. I have a story in my Instagram highlights illustrating it with paper, if it helps.
Block fusing is amazing! You can be judicious with fabric use if you cut out a piece only slightly larger than your pattern piece before fusing.
LikeLike
Good thinking! Will watch your stories now xx
LikeLiked by 1 person