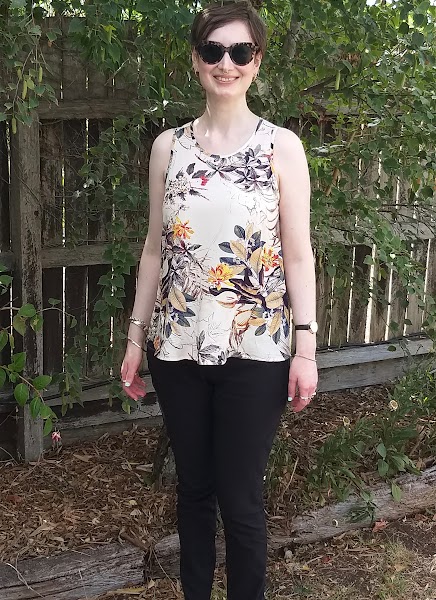
Hello! This project was largely a trial to see if a certain garment shape (cut out shoulder tank top) worked on me. Spoiler alert: it doesn’t, but I still ended up with a top I like and will wear over summer.
Way back in February, I made some Sew Over It Sylvia Robes from beautiful Spotlight rayon. Really, their rayon is now the jewel in their crown of largely overpriced, poor quality fabric – it’s lovely and soft, with a variety of interesting prints. Often their prints are let down by stiff and unwieldy fabric, but not in this instance.
Anyway, I had some rayon left over from this project and was reserving it for a summer top project. The right pattern never really came along, so I decided to experiment with a new silhouette, via the Tessuti Ruby Dress/Top pattern. I’m never really sure if Tessuti patterns are right for me, and this was another undecided style – cut out tanks look great on a lot of people, but I wasn’t convinced I was one of them. But the only way to find out is try, right?

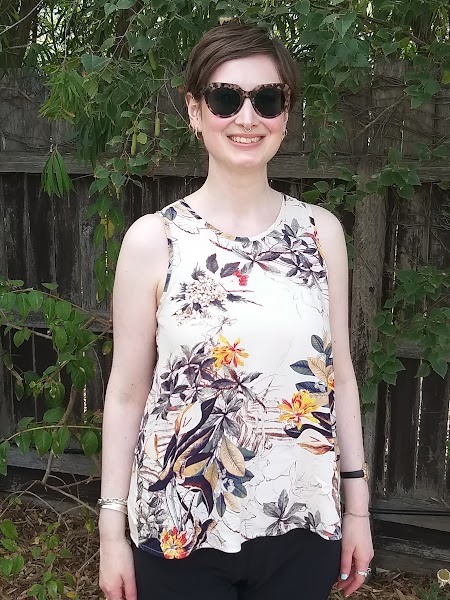
I made some slight alterations to the pattern to increase my chances of success. I roughly tried the paper pattern on to determine where my bra straps were and drew out the armscye a size, while lowering the front neck slightly for more breathing room.
The top came together easily enough, and I took the time to sew French seams to protect the fragile rayon from coming apart in the wash. I had to sew the back facing slit slightly deeper (like….6mm) as I clipped too close to begin with and it frayed to the outside, but these things happen.
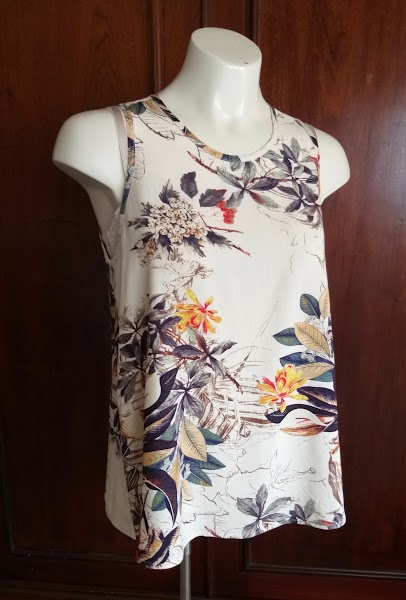
I ignored the instructions for bias binding (which would have been double thickness) and did it my own way, which involved sewing a flat piece of bias tape RST to the inner side of opening, raw edges together. You then press (finger or iron) upwards, fold the tape around to enclose the raw edge, and edge stitch from the right side. This time I pressed the folds in place before edge stitching, as the fabric was so slippery, but you really can do it all at the machine. The advantage of this method is that it doesn’t matter if you don’t catch the inner edge of the bias tape, as it’s already stitched in place.
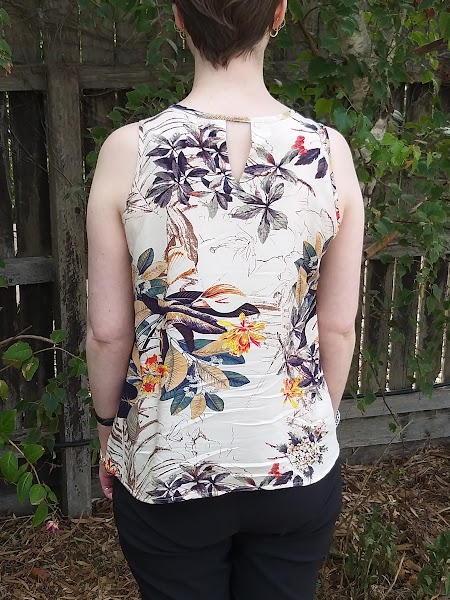
I was feeling relieved to have finished sewing with the slippery bastard of a fabric when I tried it on, and…yikes. Something had gone awry with the back facing, and it was sticking out and buckling like nobody’s business. I had only sewn the slit slightly deeper, not wider, so I couldn’t figure out why it was buckling so badly, and frankly couldn’t be assed thinking it through. All I knew was it sat better when it was open and spread approx. 3.5cm, so that’s what I did.
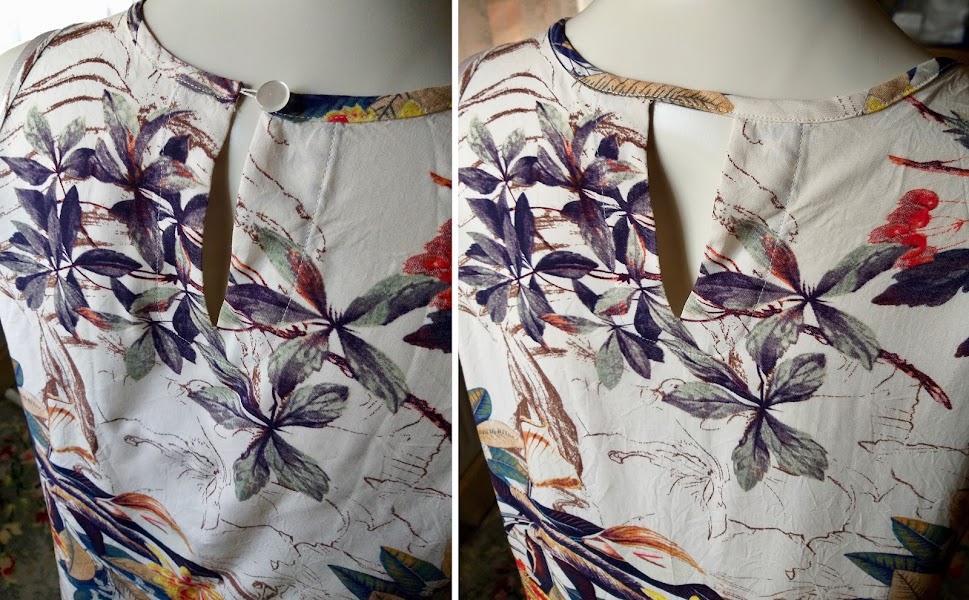
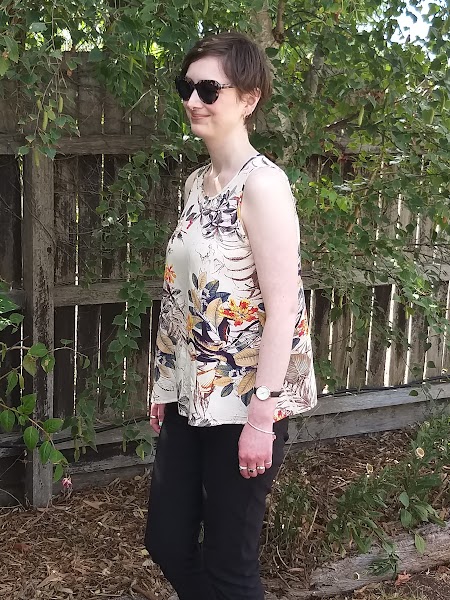
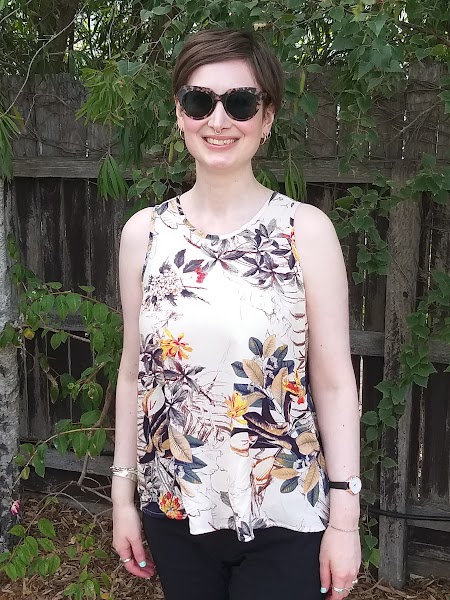
I unpicked the bias binding for the neck, and resewed as a circle with the separated slit now forming a keyhole opening. It’s still buckly, but less so. Luckily, having the back facing open looked a lot better from the front too. Turns out cut-away shoulders don’t suit my broad shouldered figure, and despite my alterations I looked like a rugby player in the original Ruby shape. Something I well could have predicted, but sometimes you just want to try a trend!

It’s not my best work, but the top is passable now and I’m sure I’ll wear it during the hot summer months. Even though it wasn’t for me, I’d recommend this pattern for anyone interested in the cut-away shoulder/swing tank style.
An unrelated note: my phone photos are still in the “really not great” category, but they’re a lot better than they were thanks to a tip from Naomi. Set your camera zoom to 2x, and it will somewhat counteract the “fish eye” effect common in phone photography. It also works well for back-camera selfies!
The deets:
Pattern: Tessuti Ruby Dress/Top
Pattern details: “This simple sleeveless top/dress features a high neckline, cutaway armholes with self binding on armholes and neckline plus keyhole back opening. The style is slightly flared at the hemline and makes a perfect floaty garment for the warmer months.” Available in sizes Aus 6-16, in limited edition hard copy or PDF pattern.
Fabric: Leftovers of 135cm wide printed rayon from Spotlight.
Other materials: Sheerweft (?) strips to fusetape armscye and neck. Spotlight Supafine fusible interfacing to fuse back neck facing.
Mods: Size 12
– 1/2″ (12mm) forward head adjustment
– Brought armscye out a little to size 14
– Widened neck slightly (cut a size 10 I believe)
– Used own bias binding method (the binding is double thickness in the pattern)
– Bias faced hem for more length
– Let back facing spread 3.5cm with circular bias binding for more neck room/shoulder coverage and a smoother facing slit

I like your lowered front neckline & I like your shoulders in the top! IDK why you had a problem with the back buckling. I like the look of the little back neck button, but your save worked. Fabric is lovely and this looks like an expensive top. Sometime, if I ever make this, I might make it longer and have either: a swim suit coverup or make it even longer for a summer night gown. Cute!
LikeLiked by 1 person
I don’t know why I had that problem either, as others have made it without issue. Perhaps it was the interfacing I used? A long summer night gown or coverup sounds lovely. Thanks!
LikeLiked by 1 person
Cute! You saved the day with your changes! The fabric looks lovely… I love the print. I hope you are comfortable with it in the hot summer months!
LikeLiked by 1 person
Thanks Linda! I’ll never be totally comfortable when it’s a sauna/oven outside but cool clothing certainly helps.
LikeLiked by 1 person
Rayon tank tops like this are my favourite for hot weather. I hacked a Burda top to convert side darts to French darts and added back darts, as my bust is too big and I am too short to wear a dartless top like yours without looking like a sack on legs.
In relation to finishing your rayon neck and arm seams, I enlarged neck opening so it fit over my head without any need for slits, zips or other closures. Like you I used French seams internally, except for my honking bust dart which I cut down to 5/8″ turned edges in and edgestitched. I tried bias on arm hole and neck edge but it was heavy on light fabric and tended to distort it. I found what worked best on neck and arm holes was simply turning edges over 1/4″ then 3/8″ and edge stitching. The bias edge around the neck means it shapes fine.
LikeLiked by 1 person
Your rayon top sounds lovely, Karey. Perhaps I’ll look to Burda next as they do shell patterns so well. Good thinking with the turned-under finishes – I’m lucky that this one just slips over my head now it’s widened as I hate fussing with buttons and such.
LikeLiked by 1 person
I started with a 1995 Burda top, with fit of their loose dress sloper but lower neckline. By the time I finished it was somewhere between this sloper and their more fitted one. Converting side dart to French dart gave closer fit under bust, but looser than tight dress, and back darts I added improved fit on my sway back without them being so big it was too tight to pull over my head. The neckline was in between two slopers but both are as good a place to start as any if you want to play with them.
https://www.burdastyle.com/pattern_store/patterns/basic-shift-dress-sloper
https://www.burdastyle.com/pattern_store/patterns/basic-fitted-dress-sloper–2
LikeLiked by 1 person
Excellent, thanks for the links.
LikeLiked by 1 person
I don’t know what professional rugby players look like, but you don’t look even vaguely broad shouldered! This tank is adorable and hopefully you get lots of wear out of it. I especially like that you lowered the neckline – it makes it feel more like a warm weather staple!
LikeLiked by 1 person
I think it’s similar to NFL? Perhaps a bit less brutal. Thank you! I get so antsy with high necklines, lowering it was the first thing on my mind.
LikeLike
I looked closely & it seems to me that view #4 of this pattern on Tessuti looks like they had a similar buckling problem in the back! If I buy this pattern, I might add a back center seam and baste from neck to hem, before sewing back seam. Do you think that might help?
https://www.tessuti-shop.com/products/ruby-dress-top-pattern
LikeLiked by 1 person
Wow, you’re right! I think a CB seam would help, both for fitting and the fact you could just turn under seam allowances instead of adding a separate facing.
LikeLiked by 1 person